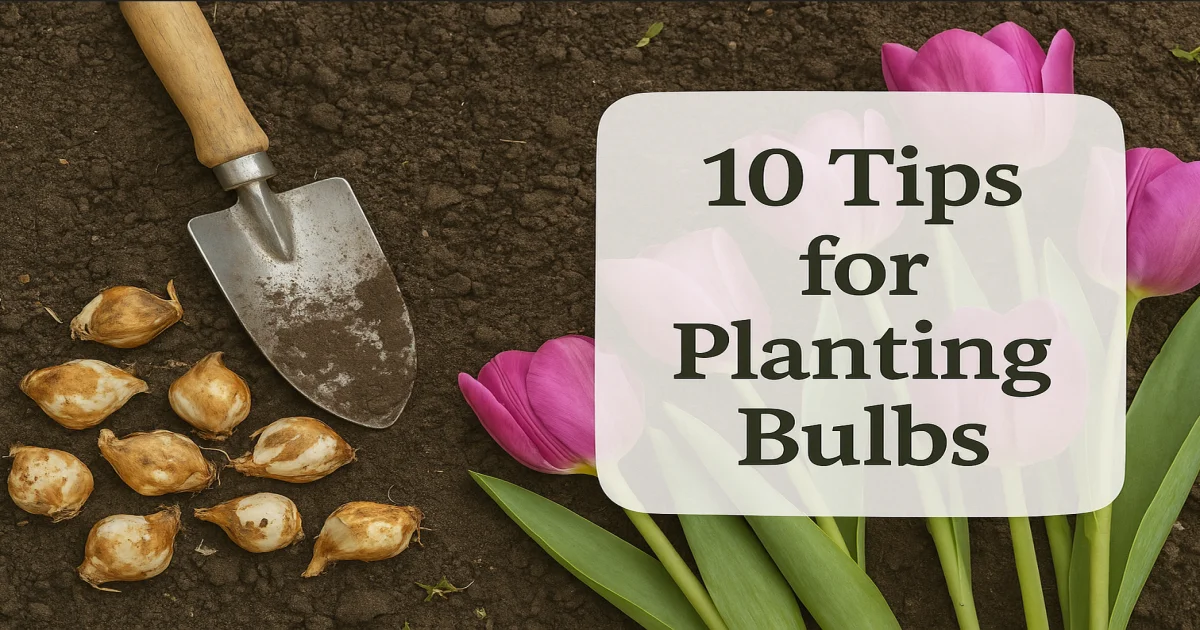
10 Expert Tips for Planting Flower Bulbs
Description: Master the art of bulb planting with these ten essential tips to ensure vibrant blooms and a thriving garden.

Why Bulb Planting Matters for Seasonal Color
Bulbs are a gardener’s secret weapon for creating waves of vibrant, early-season color. From tulips and daffodils to alliums and crocuses, bulbs offer low-maintenance beauty with high visual impact. When planted correctly, they naturalize over time, returning year after year and expanding their footprint across your garden beds.
1. Choose the Right Bulbs for Your Climate
Not all bulbs thrive in every region. Check USDA hardiness zones and choose varieties suited to your local winters and summers. For example, tulips and hyacinths love cold winters, while rain lilies or crinums do better in warmer climates. Buy from reputable nurseries for disease-free, high-quality bulbs.
2. Time Your Planting Correctly
Spring-blooming bulbs like daffodils and crocuses should be planted in the fall, about 6–8 weeks before your first hard frost. Summer and fall bloomers, such as lilies or gladiolus, are typically planted in spring after the threat of frost has passed. Timing ensures proper root development and seasonal bloom success.
3. Prepare the Soil for Strong Rooting
Well-draining soil is key to bulb health. Amend heavy clay with compost or sand to improve drainage. Add a handful of bone meal or bulb fertilizer into the hole for slow-release nutrients. Bulbs sitting in soggy soil are prone to rot, so raised beds or mounded soil may help in poor-draining areas.
4. Follow the “Three Times Deep” Rule
A good rule of thumb: plant bulbs at a depth that is three times their height. Larger bulbs (like daffodils) may need to be planted 6–8 inches deep, while smaller ones (like snowdrops) can go 2–3 inches down. Always plant with the pointy end facing up and the root base down.
5. Group Bulbs for Bigger Impact
Rather than planting in rows, arrange bulbs in natural-looking clusters or drifts of 5–15. This mimics how they grow in the wild and results in more dramatic swaths of color. Avoid evenly spaced patterns—staggering or overlapping groupings creates a fuller, more natural effect.
6. Label Your Plantings
It’s easy to forget what you planted where once the ground freezes. Use weatherproof labels or sketch a planting map for reference. This prevents accidental disturbance in spring and helps with garden planning in future seasons.
7. Mulch After Planting
Applying a 2–3 inch layer of mulch helps regulate soil temperature and retains moisture. It also reduces weed competition and protects bulbs from extreme cold. Avoid piling mulch directly on top of bulbs; instead, spread it evenly across the soil surface.
8. Protect Bulbs from Pests
Squirrels, voles, and other critters love to dig up freshly planted bulbs. Cover beds with chicken wire or garden mesh until the ground freezes. You can also try repellents or choose less palatable bulbs like daffodils, alliums, or fritillarias, which are naturally pest-resistant.
9. Water Thoroughly After Planting
Give your bulbs a good soaking immediately after planting to help settle the soil and initiate root growth. Continue watering lightly if your fall is dry, especially in the weeks before the ground freezes. Avoid overwatering, especially in poorly drained soils.
10. Plan for Continuous Blooms
Mix early, mid, and late-season bloomers to extend color across the months. Combine different shapes, heights, and colors to create depth and layering. For example, pair low-growing crocuses with mid-height daffodils and tall tulips for a tiered floral display that evolves through the season.
By following these ten practical tips, you'll set the stage for a stunning bulb garden that returns year after year. Whether you're looking for a burst of spring cheer or a succession of blooms throughout the season, thoughtful planning and planting can turn any yard into a floral showcase.


